Alpenglow Design Process
2. The First Prototype
The first step of getting your first prototype more than pushing print or buying the components. It's the process of thinking out all of the ways you want the game to play and preparing for them.
So I'm going to start with my discovery that a prototype isn't as simple as pushing print, it is an never ending process of making revisions to each and every part. For me, it has been a circular motion where I'm always working on some part of the game, each improved with the latest thinking while advancing the rest of the game. While there doesn't seem to be an end to this, the beginning was pretty fun.
As mentioned in my last article, I did most of the development and ideation in a sketch app so I actually made it pretty far along before I actually had game components sitting on a table ready for play. Here I'll share what it took to get all of the parts collected and developed for a first play.
A Visit to Amazon
The easy part is finding generic game components. For a small game, you can either steal from games you already have or you can go to a game store which will likely have most of whay you need. Dice, cubes, coins, meeples, and even erasable mats all come in handy at the beginning and it was quick to add elements to the cart. I found that you can save a lot of money by shifting the search to Amazon and look for educational/teaching supplies. Might not be board game oriented but it was half the cost.
Once I had 1000 plastic colored cubes, play money coins, a box of 1" hexes, and some erasable notecards (great when paired up with transparency markers) on their way, I started to work on the components I'd need to print and make at home.
Printed Parts
Next step was to turn to the custom components. For cards, tokens and the board, I already had a large format printer (if you didn't know, I'm an architect so it's a tool of the trade) so I bought a ream of cardstock. We didn't print anything for a while though because we were a little too early in the process.
The purchase of some 5x7 dry erase note cards and the erasable player mat was the big win at first. It allowed me to make the cards with some transparency markers at first and visually spread out what was done and how much intuition told me I needed to still make. It also allowed us to make changes which was easy because the game looked like something that was intended to be changed and improved.
What you don't realize when you build out your first prototype is how much time you spend addressing fringe cases and depth to the game. You need to come up with an entire deck of cards and actions, draw up icons, a board, think about design, and make sure the game is playable. It is easy to come up with a few example cards and buildings for instance but making the rest of the deck was still a task that needed to be thought out.
This is where I actually started spending more time on the computer listing out everything I had as well as what needed to be figured out. I built a list of the run cards and buildings and started putting a statistical model together in the form of a rather simple spreadsheet so that the game would start to have some balance.
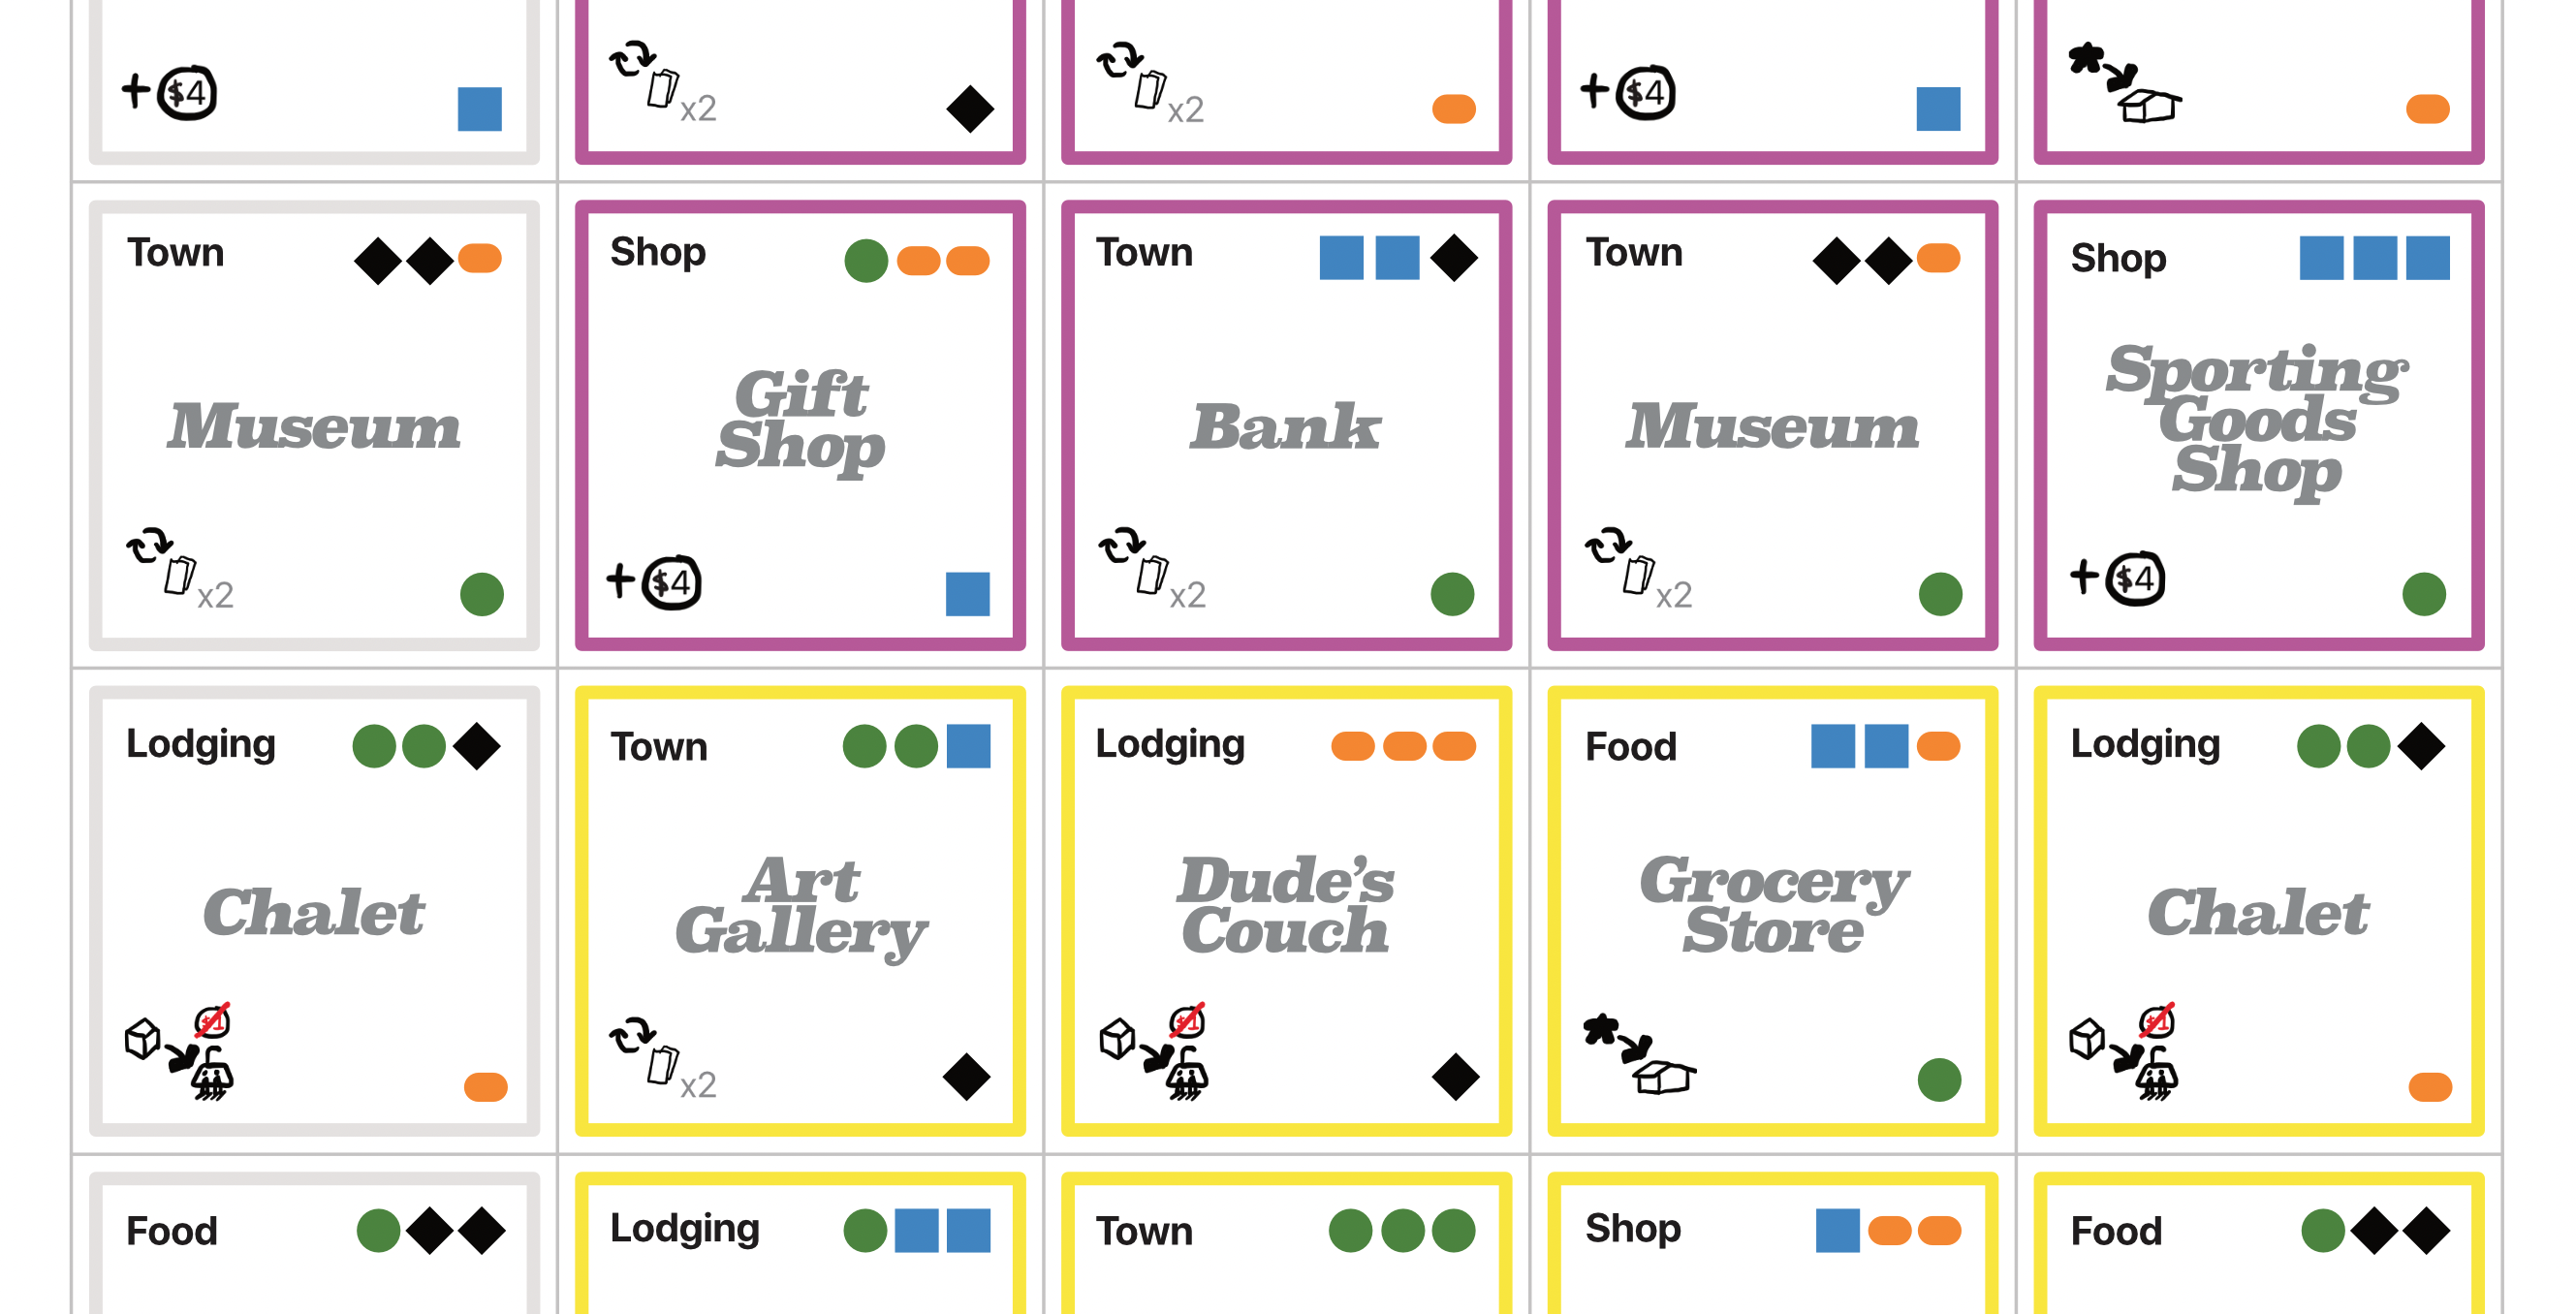
Run Cards and Building Tokens

The first set of visuals were sketched out (literally) and actually hung around for a while as other parts of the game developed. Complimenting the initial icons and visuals that were in my sketch app would be the components we would need. I ended making parts for both the mountain and the village variants because we were still thinking about this game taking one of two paths at the time. We would eventually merge the two but it almost felt like we had two separate games competing to be made.
The basic premise behind both was that we have a deck of run cards that would allow you to place runs on the mountain as well as take an action, in addition to a collection of village buildings which would be the source of the skiers you would be collecting and delivering. This is at the heart of game play so developing that deck was important. In the master spreadsheet I listed out every possible action one could take including all of the types of resources and components.
Thinking of games with many actions like the Pfister Great Western Trail and Maracaibo classics, I figured it would be best to list out what users may want to do then incorporate and spread out those actions onto cards. We wanted to have enough variety to keep things fun but didn't want to overcomplicate the game. It's hard when you are making it all up, and designing for special high value actions balanced with transactional and core actions is a task we would eventually take on during play testing.
In the end, I cut up the 5x7 cards into 4 smaller cards to make a deck and started to draw run icons and write out values. You need to make a first guess to get the first version out the door. As far as buildings, I did the same. Started with the spreadsheet and intuitively guessed that income of 2 skiers per building would be good given that is the average capacity of the chairlifts (2, 3, & 4).
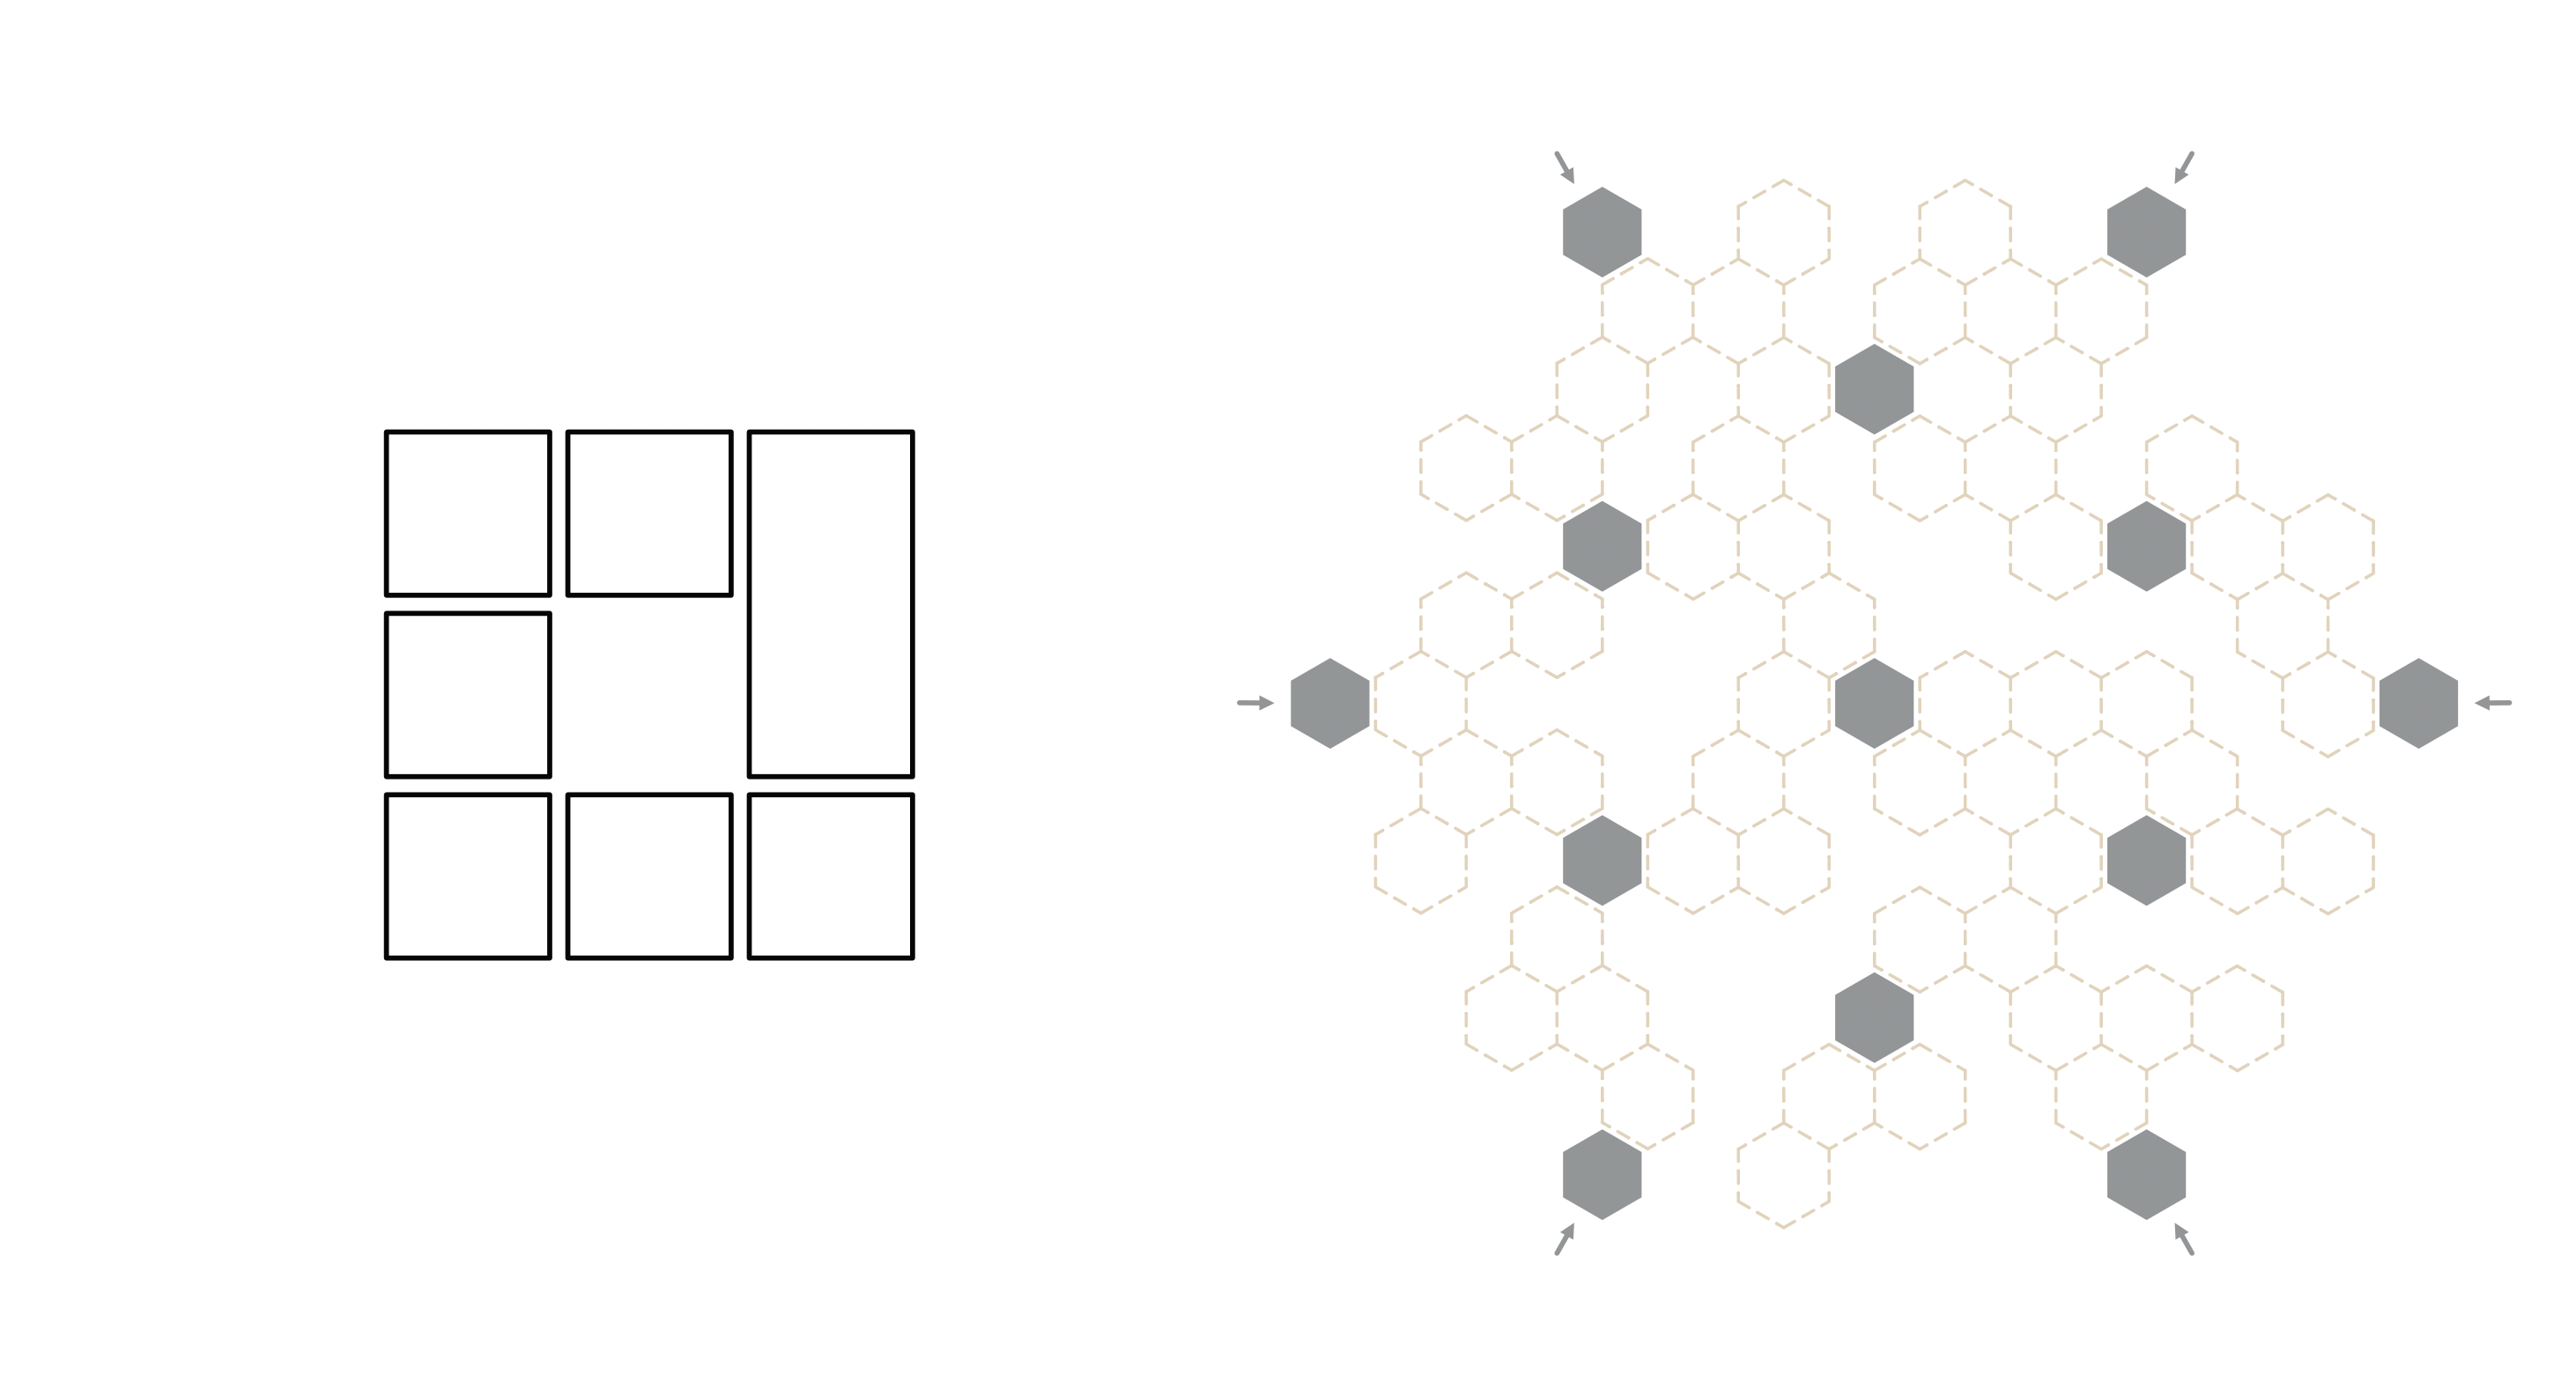
The Board and the Custom Components
Coming up with the board at the start was an exercise in designing a game for the solicitation of useful feedback for the game itself. You want people to play and give you constructive feedback that helps you make changes that are for the better. It's about the feedback collection and revision process more than playing for fun at this moment.
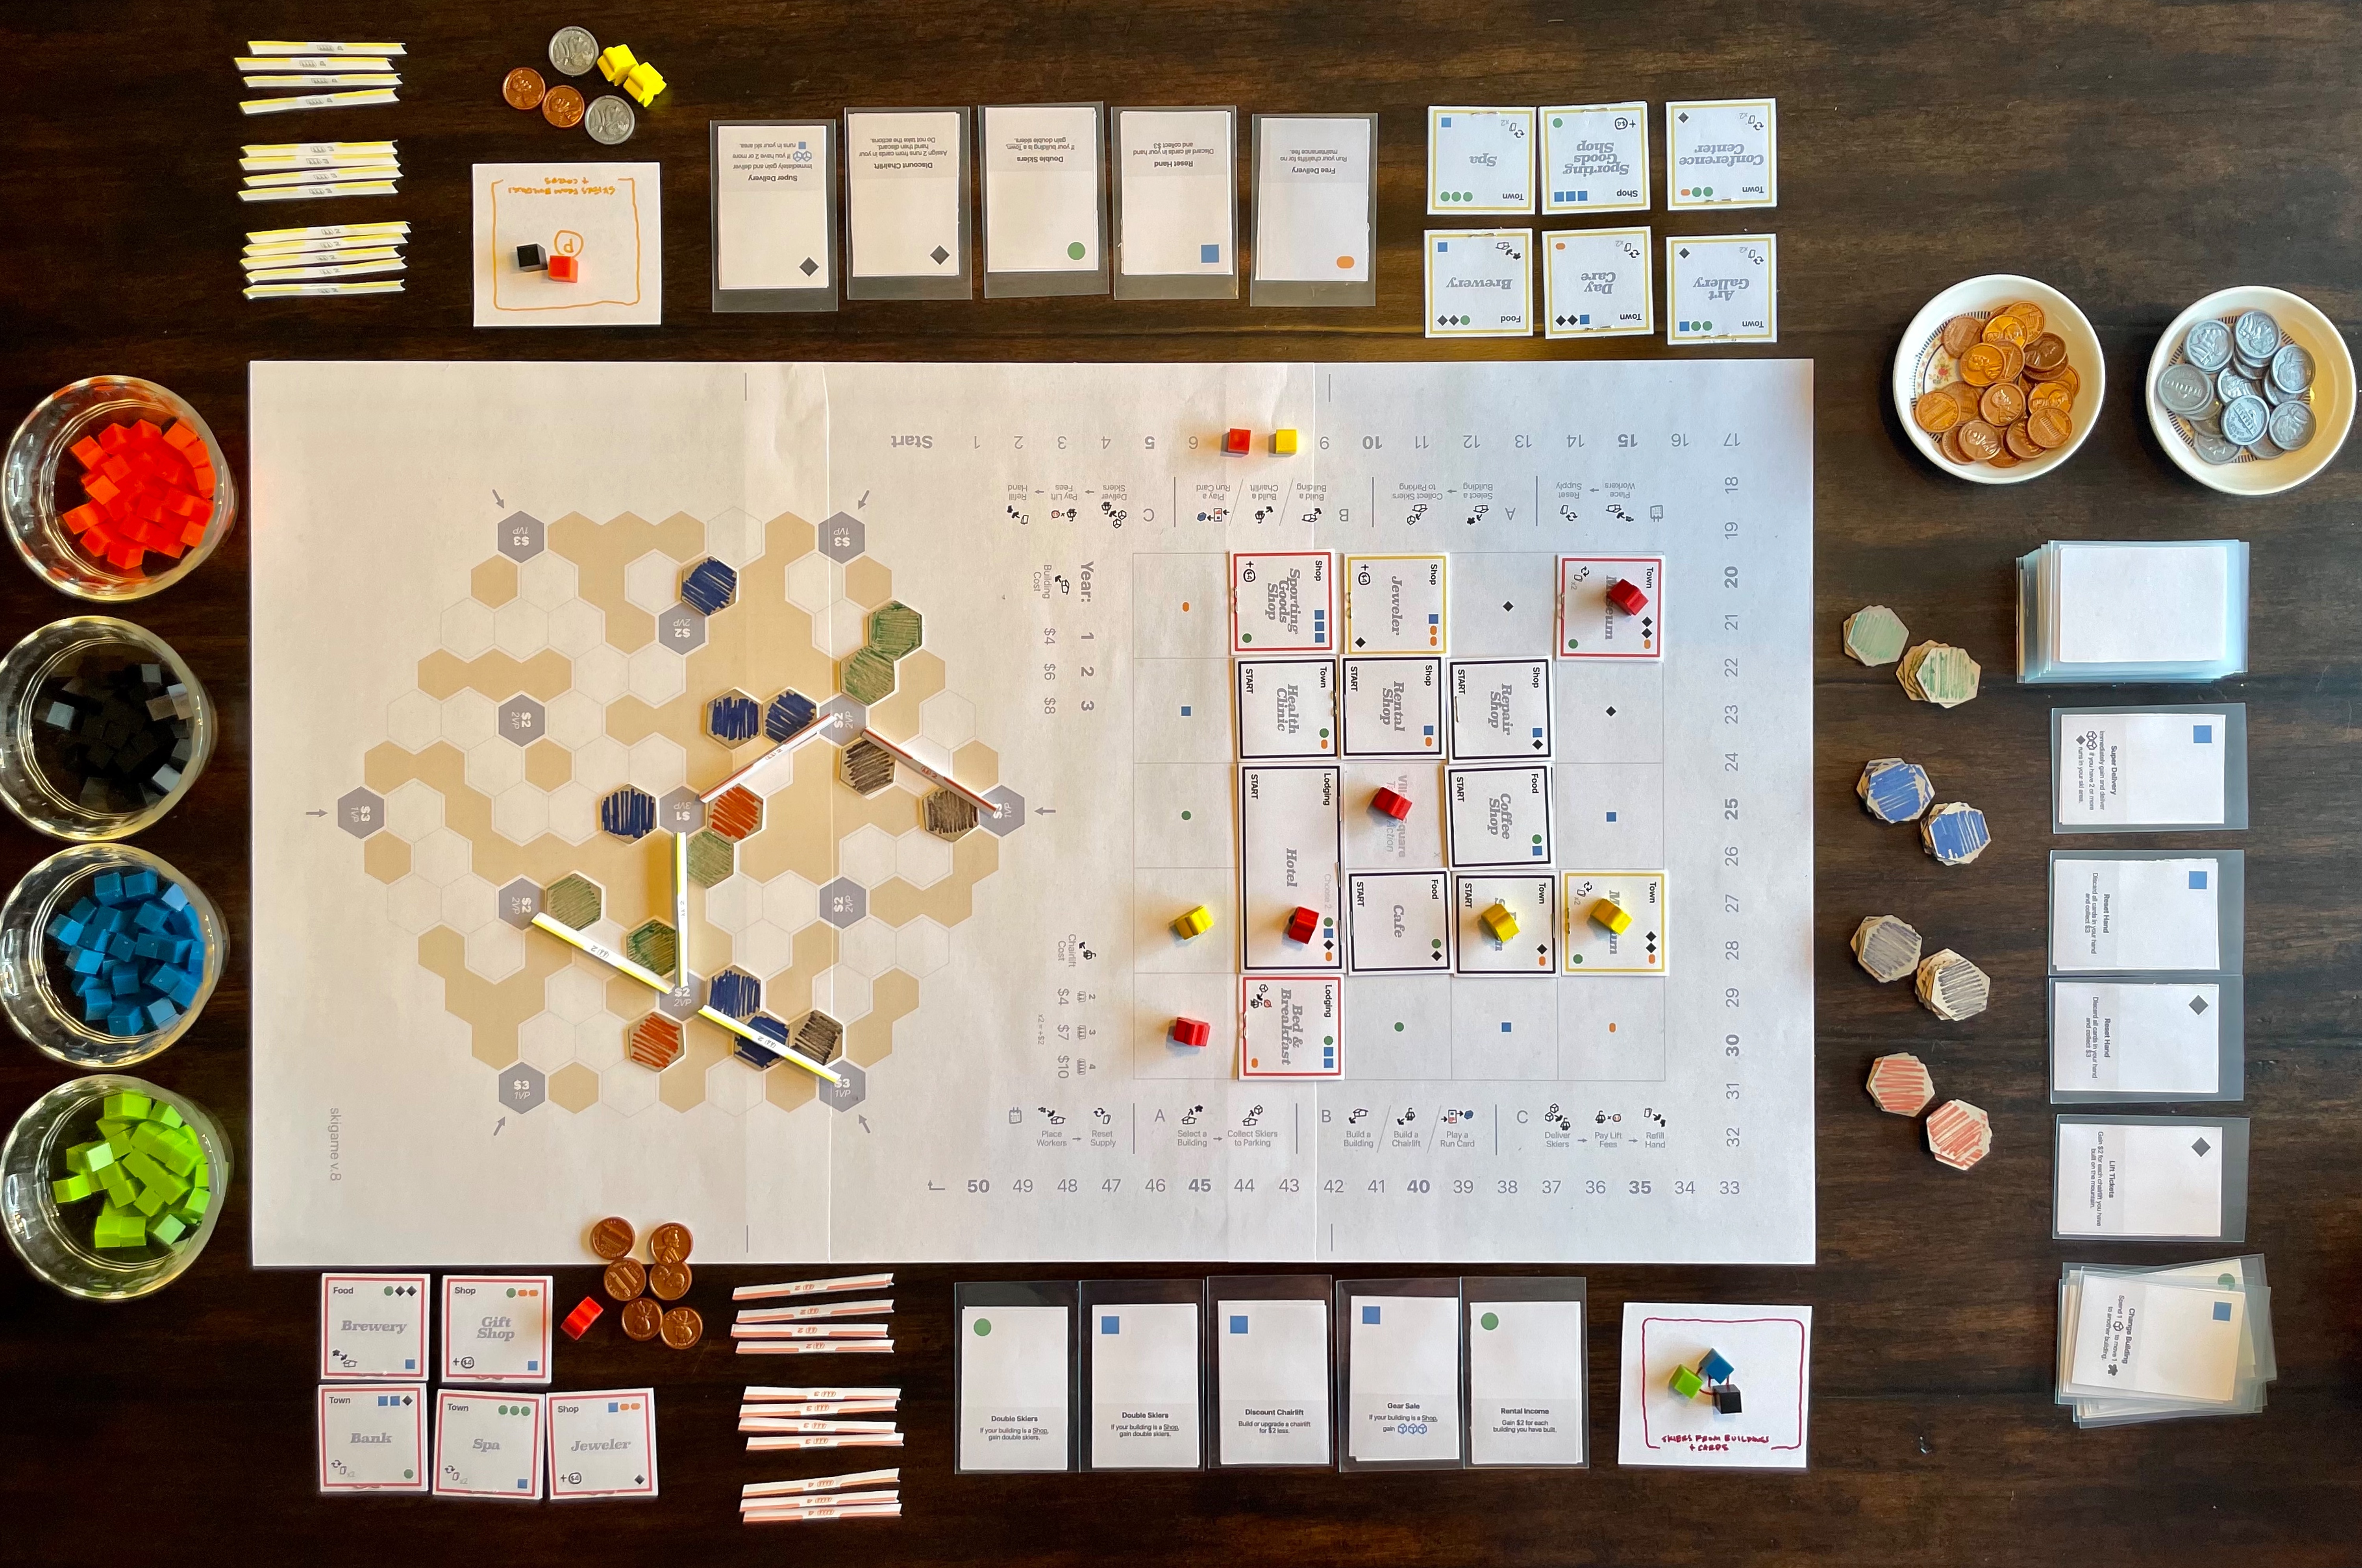
I wanted to keep things as barebones as possible and the first board was not much more than that. I figured we would make changes so keeping it simple made the most sense - really sticking to the principle that your first version doesn't need to be fully thought out, just enough to play. And yes, the image below was actually the first board we used to play. That was always the goal of the prototype, to see if this is a game that can be played. We'd focus on developing it later to make it more exciting, engaging, etc. but that is all for not if the base mechanisms don't work.

I actually printed only the village grid on the left and used the erasable play mat for the mountain. It had a printed 1" hex grid so that made things easy. I bought a box of little white hexes that matched the size and we were good to go. While on a car trip I used some fat markers to color the run hex tiles the 4 colors (green, blue, black, and orange) and had most of what we needed there.
The last part was making the custom parts. The chairlifts for one version were simple tokens so I made those by hand with notecards folded and stapled (to give some heft to them). For the mountain chairlifts, I quickly mocked up a page of lifts, printed, and cut them out. It would be months before a better solution came to mind for them.
First Play
It was pretty quick getting things together for a first play. We set up the game, drew some boundaries on the grid and just gave it a go. The overall mechanics made sense and played well but it because clear after a first round that we'd be making changes. I'll dive further into how play testing went in another article but the play tests were actually a core part of building the first complete set of components. We didn't have everything thought out for the first play, and we didn't need to. We knew it would be one of many opportunities and playing was actually the best way to figure out what we had to make and iterate.
That's how it came to be, a quick and dirty process of keeping costs down, finding components that were flexible, and taking advantage of transparency markers and reusable cards to stay flexible and fluid as the game continued to evolve. Next up in this series will be an article on play testing. That is where the challenge really begins, and where all of the fun is. Thanks for reading!
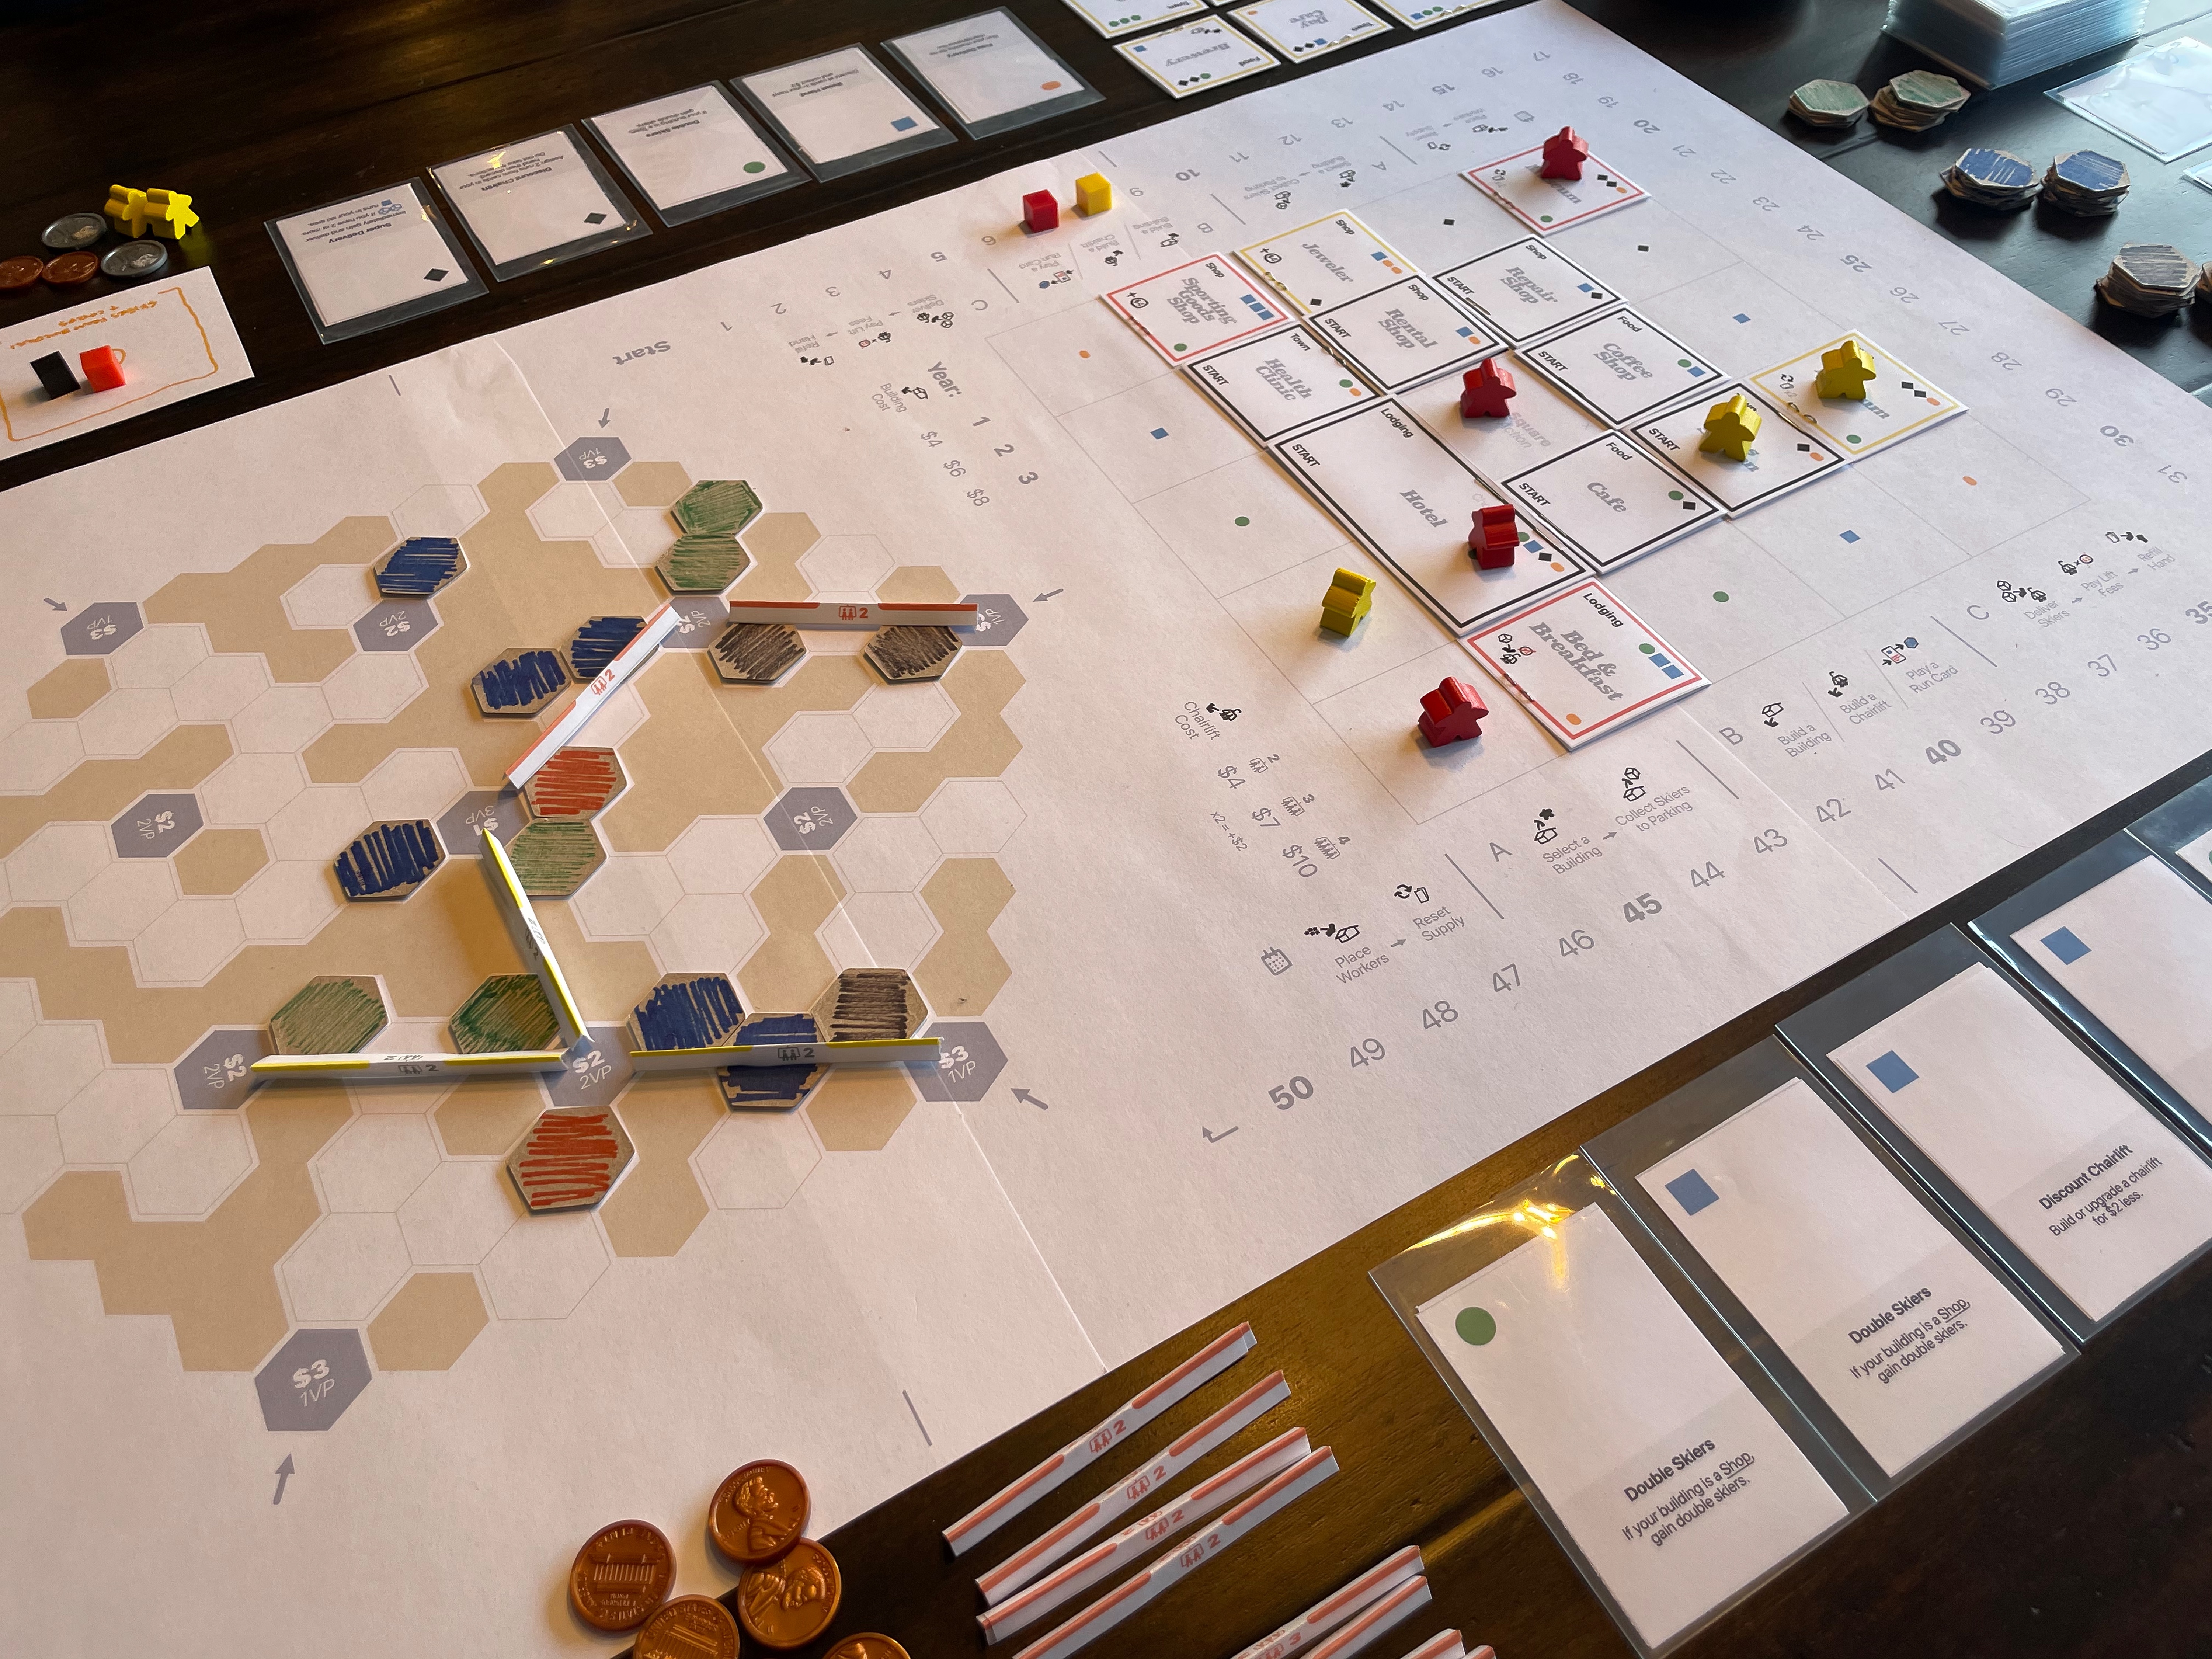
Photo Credit and Caption: Alpenglow Game Board by Sean Wittmeyer
Cite this page:
Wittmeyer, S. (2022, 23 December). 2. The First Prototype. Retrieved from https://seanwittmeyer.com/article/alpenglow-the-first-prototype
2. The First Prototype was updated December 23rd, 2022.